
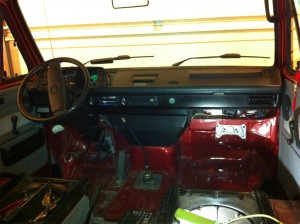
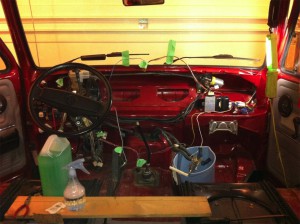
Ready to start removing the dashboard
One of the first things I did this winter was remove and replace the heater core and heater motor in the van. The motor was squeaking and the core was leaking.
Not a job for the faint of heart, it took me three weekends to get it all apart and then all back together again. Surprisingly I had no screws left over when the job was done. This was because I labelled everything and put all screws, bolts and connectors into separate baggies for later installation. I also labelled every wire otherwise I would have forgotten where they connected back up.
The first part of the job was to remove the seats. This helped in giving me easy access to the dashboard and left the van looking very empty.
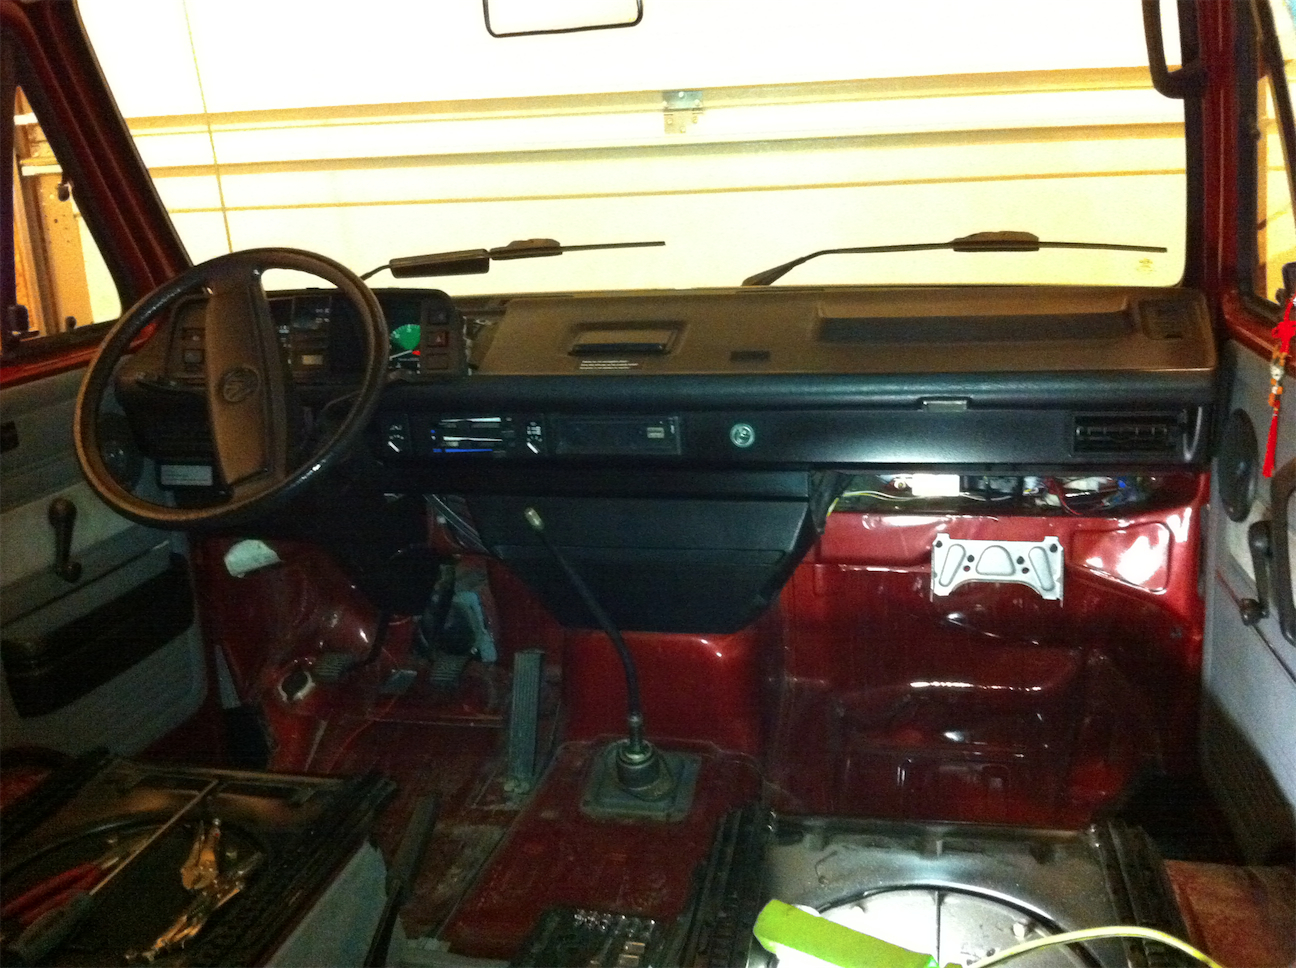
Then came the hard work. The dash is held on by a number of screws and bolts, many of them different sizes. Keeping track of where they went was a big part in doing the job right.

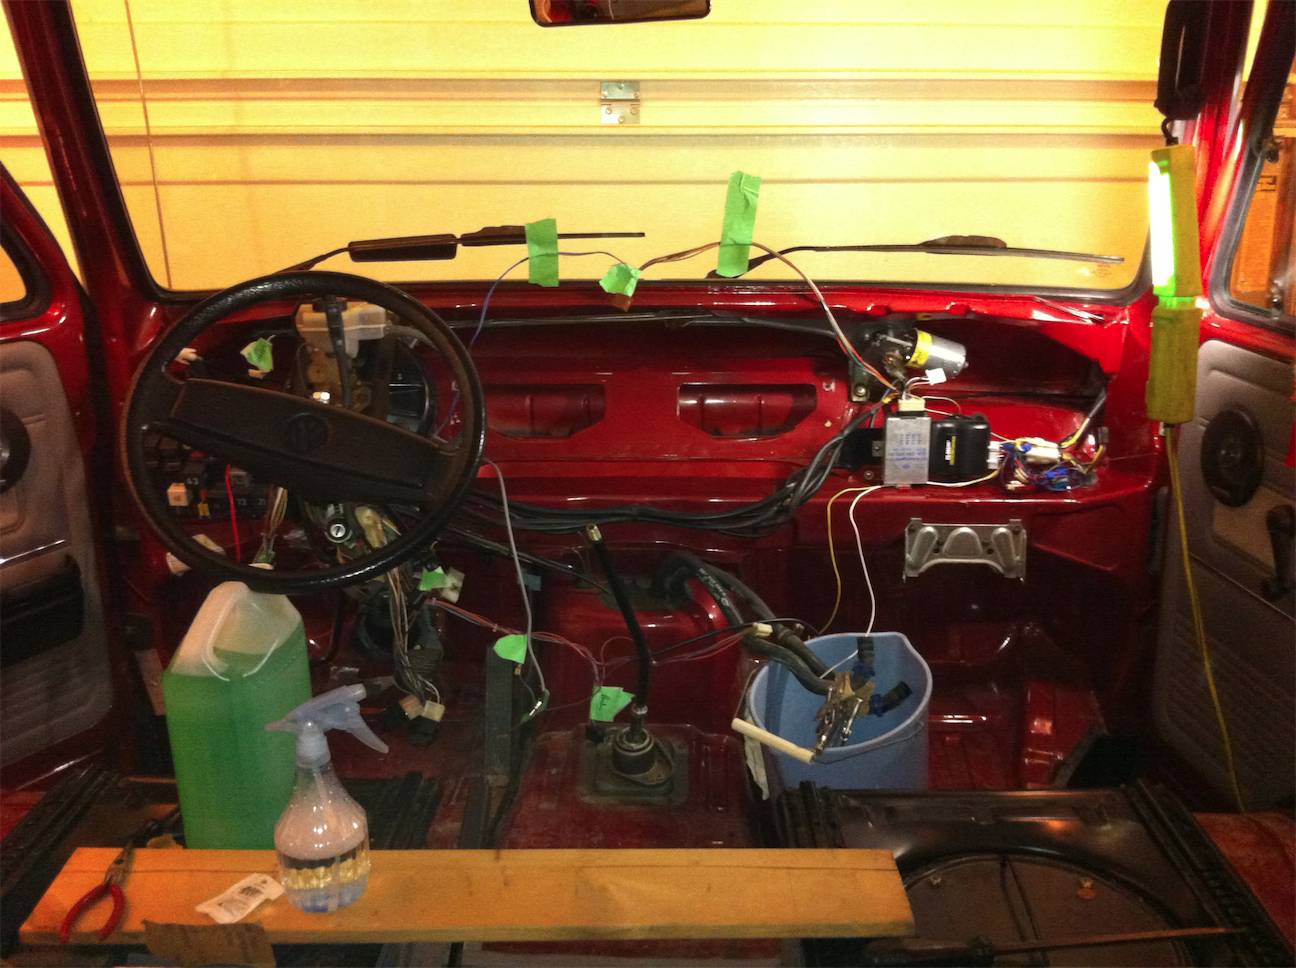
Dashboard is removed
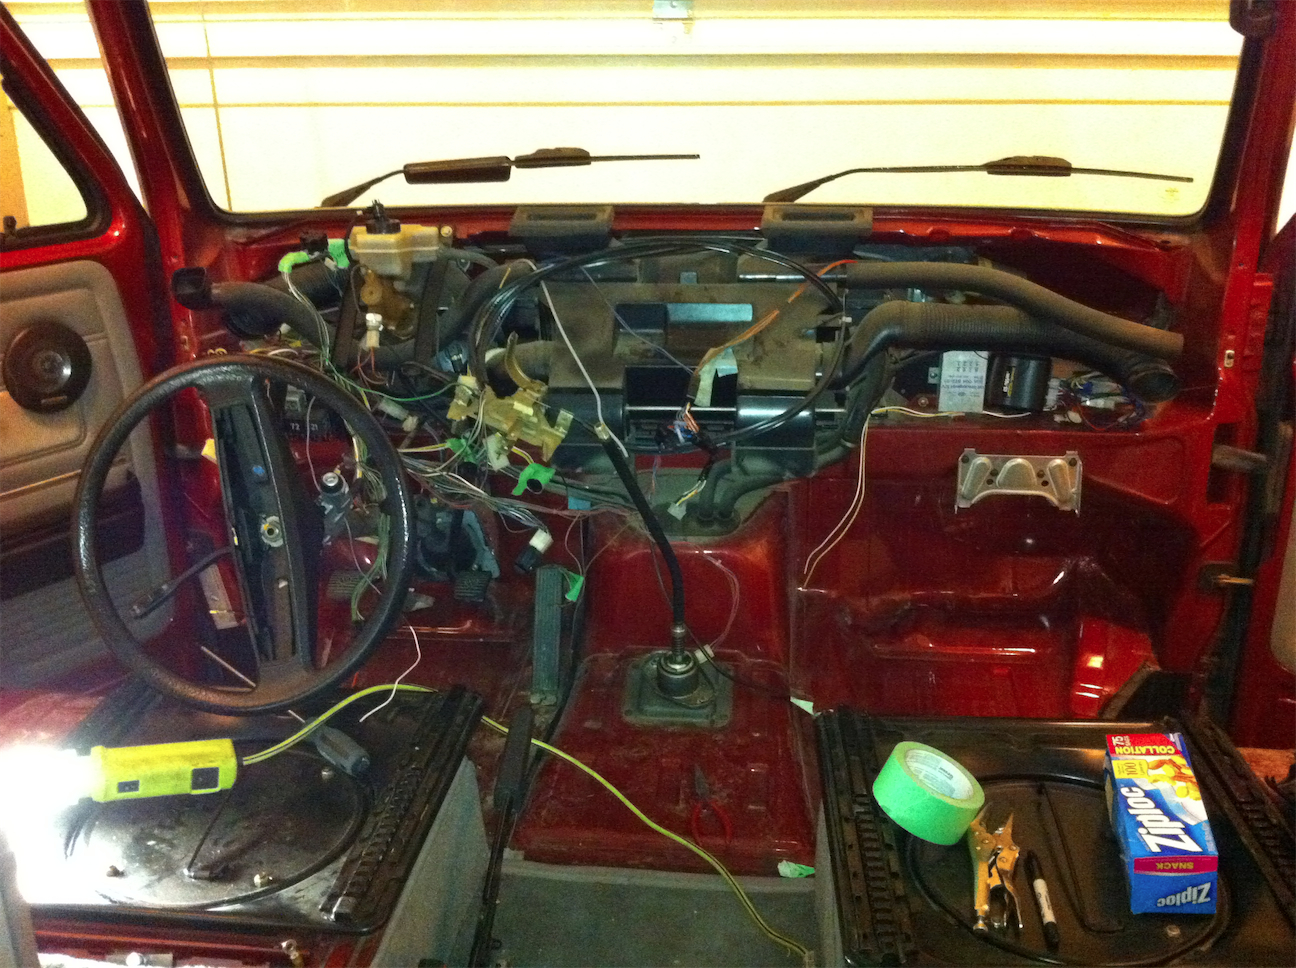
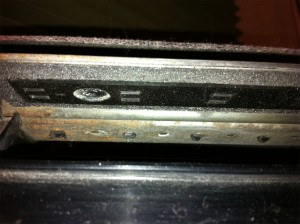
The next job was to remove the heater. I got to see what more than 20 years of dust and dirt look like.

Over 20 years of dust
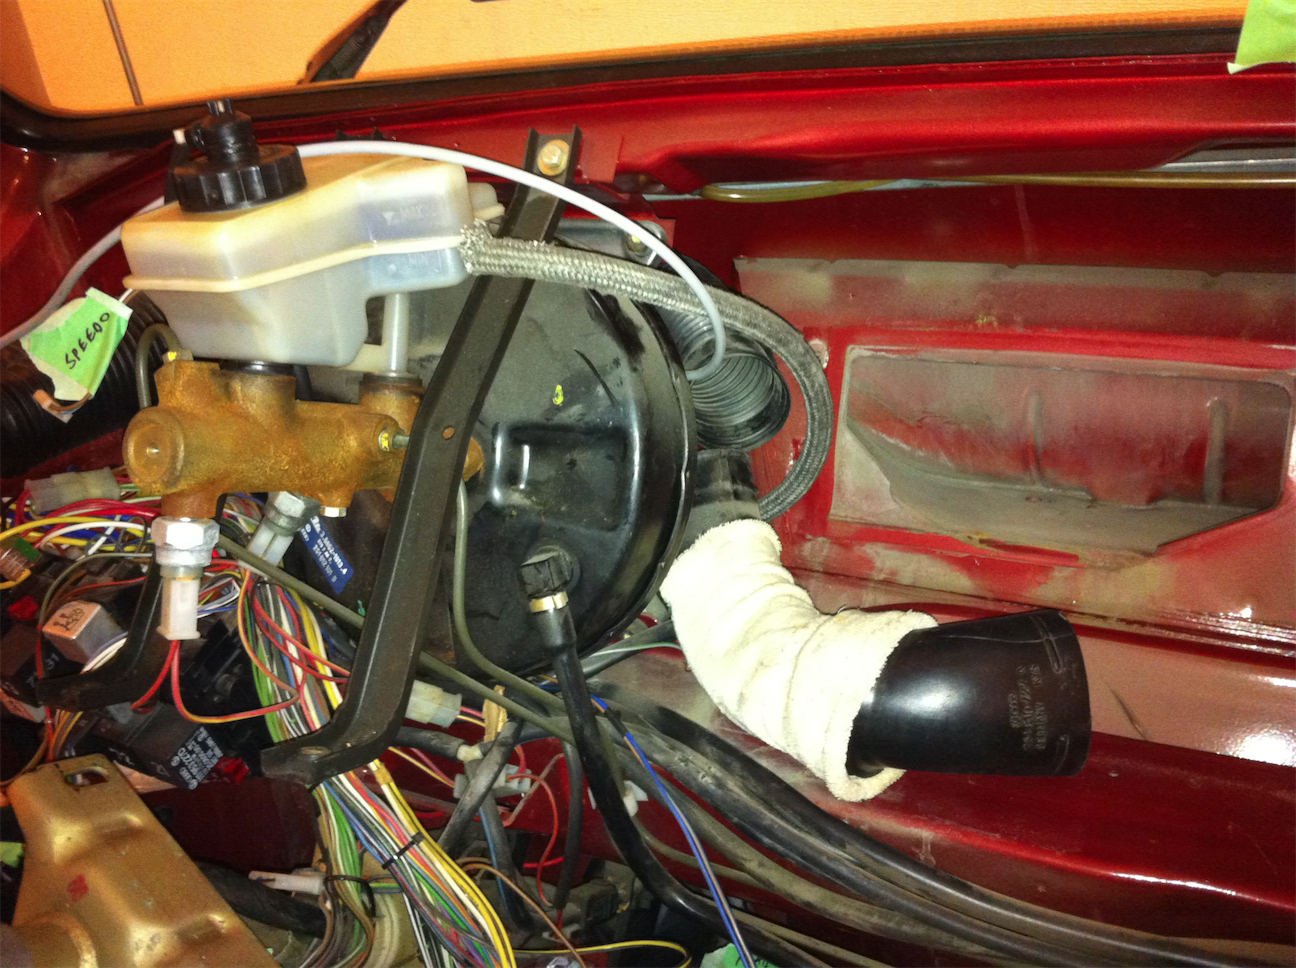
While the heater was out, I cleaned all of that accumulation of dirt. I cleaned the heater pipes and looked at all the wiring as well. I had to replace a couple of wires that had been chaffing on the steering column struts and were almost worn through.
All cleaned up
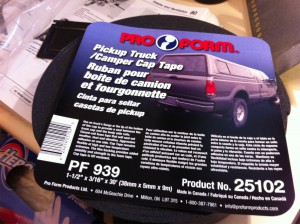
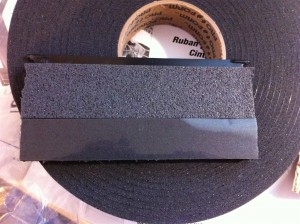
Once everything was cleaned up and I had fixed what needed fixing behind the dashboard, it was time to start working on the heater. My heater core had never been replaced before, so I had to cut through the 12 or so plastic tabs that were melted together at the factory. I had purchased the steel clips required to get the heater box closed again a few weeks earlier. Once I had access to the inside I was shocked at how fragile the foam on the flappers was. Simply touching the foam would cause it to crumble off. I used truck bedding foam as a replacement on the flappers.

Foam used for redoing heater
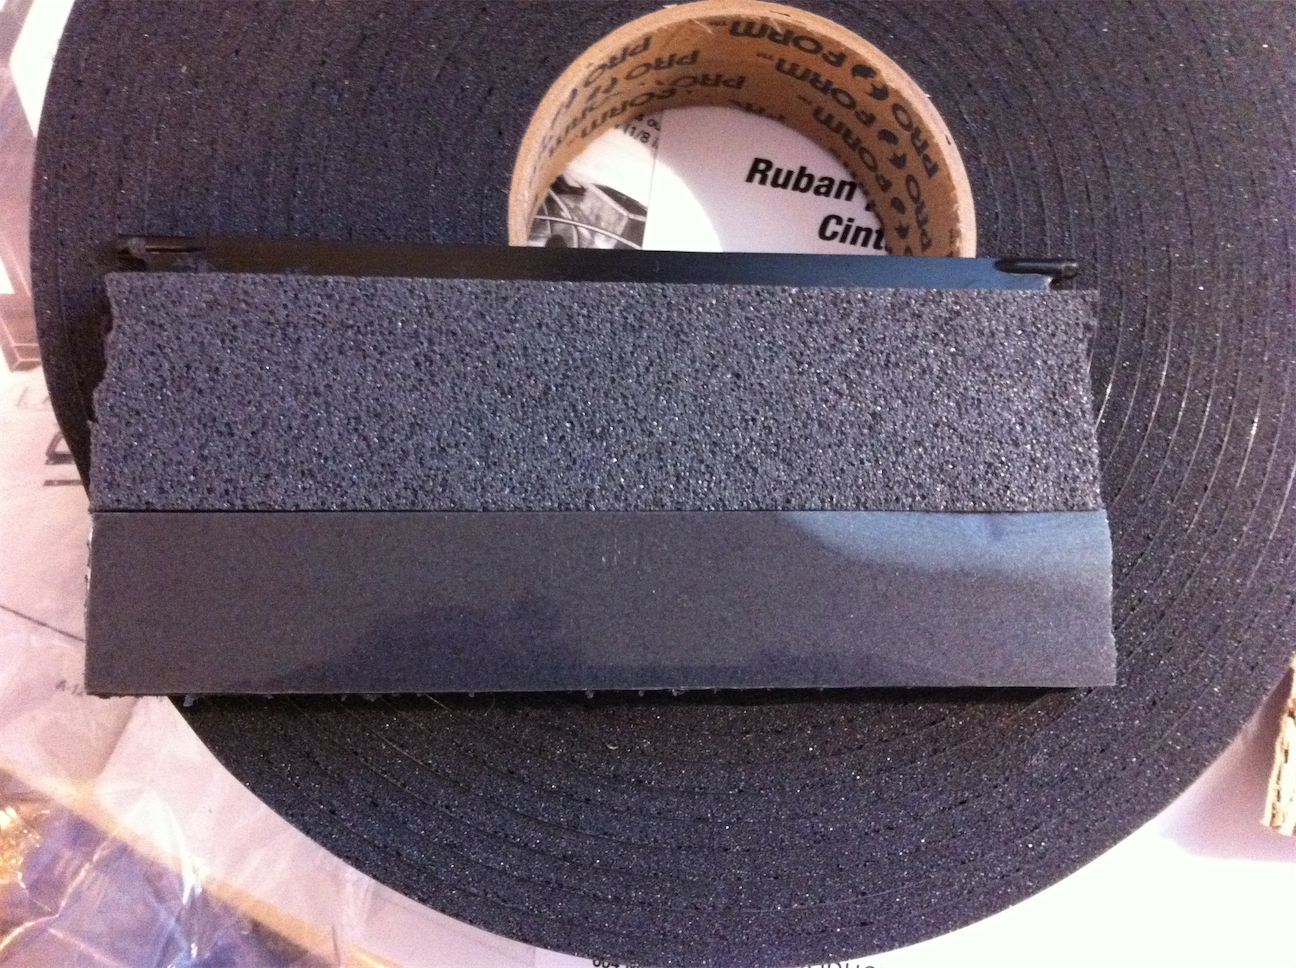
Foam on the heater flap

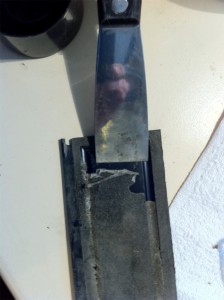
How the flapper looks in the casing

The foam just fell off, the glue was a bit more work
It wasn’t a fun job and some of the flappers were very difficult to get to. I had to replace some of the foam ‘in situ’ since I could see no way to get the flapper out of the heater box.
I also replaced the foam that goes around the fresh air intake at the front of the van. The existing foam looked and felt ok, but I decided to do the job right and put new foam in all the way around.
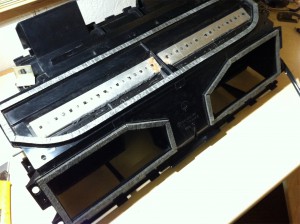

All cleaned up, ready to install
I put in the new heater core and blower motor into the casing, closed it up and reinstalled it.
I stopped taking pictures during the installation, mostly because I was concentrating on doing the job right and swearing when things did not fit as well as I thought they would. The worst job was re-attaching the hot air conduit, VW gave just enough host to reach from the heater box to the vent. Trying to get both ends attached while the dashboard was out and getting my hands back there was not fun.
So now we have amazing heat. I am disappointed that after all that work I still have a whistle of air when all the flaps are closed. It is much less that it was before, but I was hoping to eliminate it entirely…maybe next time.